How to build an iOS command line tool with Xcode 9.3
While working on an upcoming project, I found that I needed to create a standalone Mach-O executable that would share code (possibly a lot of code) with an iOS application managed through Xcode. The iOS app would exploit a system vulnerability, elevate privileges, and then spawn the standalone binary as a payload. However, I didn’t want to have to build the payload binary on the command line: not only does that introduce friction to the build flow, but also it means managing the same shared code files in two separate build systems. Thus, I decided to figure out how to add a standalone iOS executable target in Xcode.
I couldn’t find an up-to-date reference online for how to make Xcode build a standalone Mach-O executable for iOS, so after figuring out way to do it, I decided to write this guide. In this post we will create an Xcode project that mimics the macOS command line tool project type. You can also use my ios-command-line-tool project as an example.
Xcode projects and product types
When you create a new project, Xcode offers a number of templates to get you started. For macOS, the “Command Line Tool” template will set up a project that builds a standalone executable binary. Unfortunately, Xcode does not offer a command line tool template for iOS.
The settings for an Xcode project are located in a file called project.pbxproj in the
.xcodeproj directory. My first thought was to create a macOS command line tool project and then
edit the project file to change all references to macOS (e.g. the macOS SDK, the x86-64
architecture) to their iOS equivalents. Unfortunately, this didn’t work, failing with a “target
specifies product type ‘com.apple.product-type.tool’, but there’s no such product type for the
‘iphoneos’ platform” error. Clearly, I’d need to understand more about Xcode projects.
The way Xcode manages build settings is through a series of build specifications that can inherit
from each other. These specifications are defined in .xcspec files (actually plists) inside the
Xcode.app application bundle. The “com.apple.product-type.tool” identifier refers to a particular
product type specification that configures Xcode correctly to build a command line tool. In Xcode
9.3, this product type is defined in the file MacOSX Product Types.xcspec.
Here’s the full “com.apple.product-type.tool” definition:
// Tool (normal Unix command-line executable)
{   Type = ProductType;
    Identifier = com.apple.product-type.tool;
    Class = PBXToolProductType;
    Name = "Command-line Tool";
    Description = "Standalone command-line tool";
    IconNamePrefix = "TargetExecutable";
    DefaultTargetName = "Command-line Tool";
    DefaultBuildProperties = {
        FULL_PRODUCT_NAME = "$(EXECUTABLE_NAME)";
        MACH_O_TYPE = "mh_execute";
        EXECUTABLE_PREFIX = "";
        EXECUTABLE_SUFFIX = "";
        REZ_EXECUTABLE = YES;
        INSTALL_PATH = "/usr/local/bin";
        FRAMEWORK_FLAG_PREFIX = "-framework";
        LIBRARY_FLAG_PREFIX = "-l";
        LIBRARY_FLAG_NOSPACE = YES;
        GCC_DYNAMIC_NO_PIC = NO;
        GCC_SYMBOLS_PRIVATE_EXTERN = YES;
        GCC_INLINES_ARE_PRIVATE_EXTERN = YES;
        STRIP_STYLE = "all";
        CODE_SIGNING_ALLOWED = YES;
    };
    PackageTypes = (
        com.apple.package-type.mach-o-executable   // default
    );
},
The default build properties (in the DefaultBuildProperties dictionary) can be overridden inside
the project.pbxproj file. However, the other settings are not overridable. Thus, if we’re going
to build an iOS command line tool, we will need to find a different product type that is as close
to this one as possible in the non-overridable properties.
We can look at the product types available on iOS in the files Embedded-Device.xcspec
and Embedded-Shared.xcspec. The iOS product type most similar to “com.apple.product-type.tool” is
“com.apple.product-type.library.dynamic”:
{
    Class = PBXDynamicLibraryProductType;
    DefaultBuildProperties = {
...
    };
    DefaultTargetName = "Dynamic Library";
    Description = "Dynamic library";
    IconNamePrefix = "TargetLibrary";
    Identifier = "com.apple.product-type.library.dynamic";
    Name = "Dynamic Library";
    PackageTypes = (
        com.apple.package-type.mach-o-dylib
    );
    Type = ProductType;
}
This suggests that we should be able to build a command line tool for iOS by starting with a dynamic library product type and then editing the build settings to match those of a real command-line tool.
The only problem is that Xcode does not offer the option to create a dynamic library for iOS in the UI. The closest options are “Cocoa Touch Framework” and “Cocoa Touch Static Library”. Of these, a static library is closest to a dynamic library (a framework has additional packaging that we don’t need). Thus, we will start off our command line tool project in Xcode as a static library.
Steps to create an iOS command line tool Xcode project
First, create a new Xcode project. As the project template, select “Cocoa Touch Static Library”.
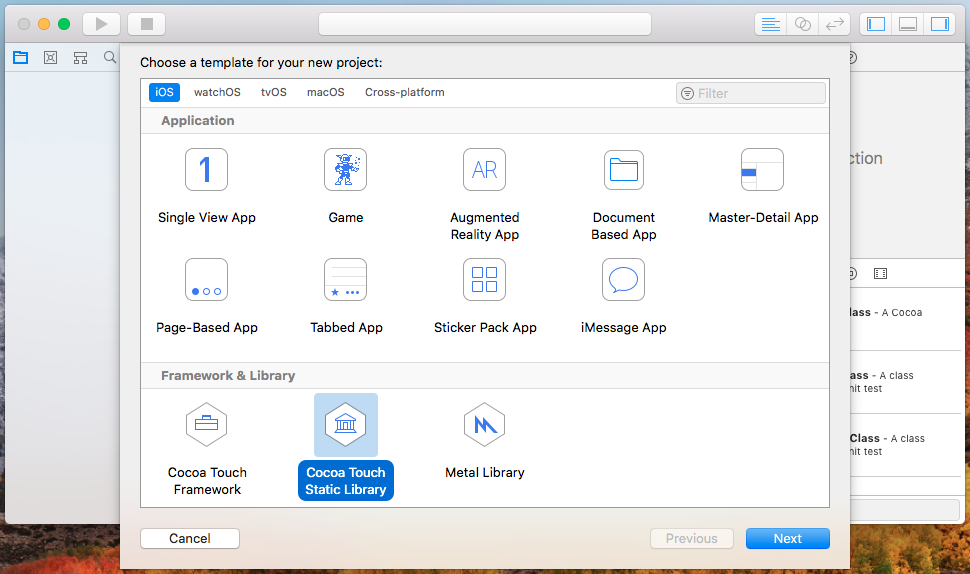
Create an Xcode project using the “Cocoa Touch Static Library” iOS template.
Once you open the project, Xcode should look like this:
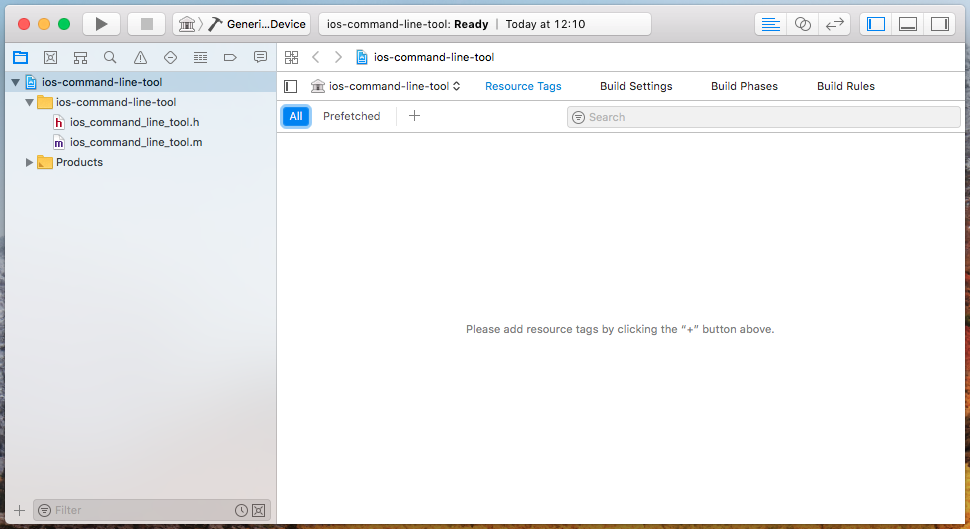
Xcode after creating an iOS static library project.
Now, close Xcode and edit the project.pbxproj file by hand. Change the productType property of
the target from com.apple.product-type.library.static to
com.apple.product-type.library.dynamic.
Reopen Xcode and navigate to the “General” tab of the target settings. Select a signing team and then build the project. The build should complete successfully. You now have an iOS dynamic library project.
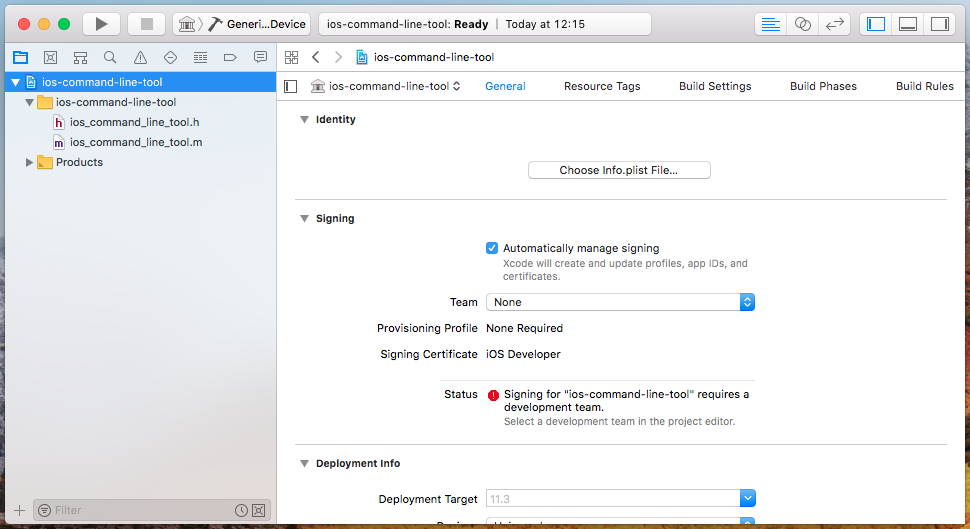
After converting the project into a dynamic library, Xcode will require a signing team.
Now we will begin converting the dynamic library project into a command line tool. In the Xcode
settings for the target, navigate to “Build Phases” and delete the “Copy Files” phase. Delete the
autogenerated header file and edit the .m file to add a stand-in main function.
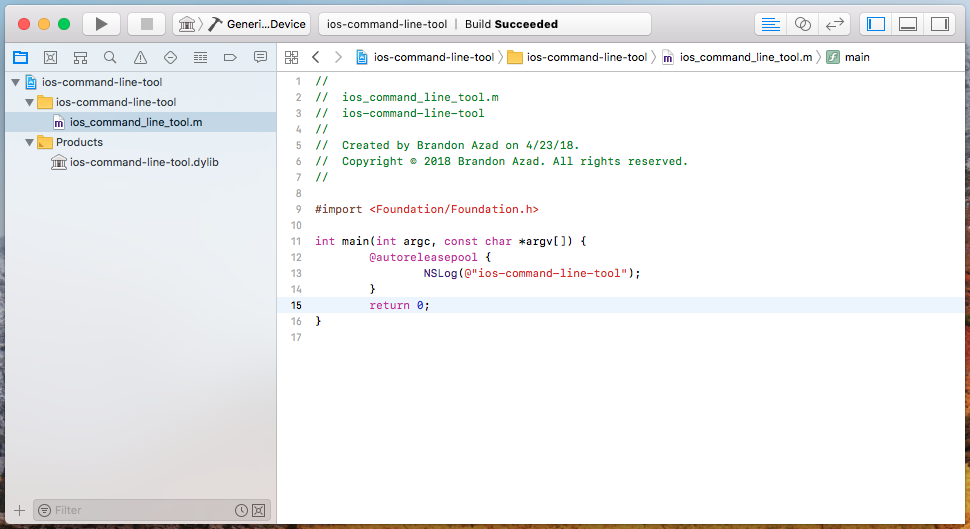
Delete the header and add a main function to the .m file.
Next we will add the following settings to the build configurations of the target:
DYLIB_COMPATIBILITY_VERSION = "";
DYLIB_CURRENT_VERSION = "";
EXECUTABLE_PREFIX = "";
EXECUTABLE_SUFFIX = "";
MACH_O_TYPE = mh_execute;
Navigate to the “Build Settings” tab for the target. Under “Linking”, clear out “Compatibility
Version” and “Current Version”, and also set “Mach-O Type” to “Executable”. Under “Packaging”, make
sure “Executable Prefix” is clear. Finally, click on the plus button at the top to add a new
user-defined setting. Set the name of the setting to EXECUTABLE_SUFFIX and leave its value empty.
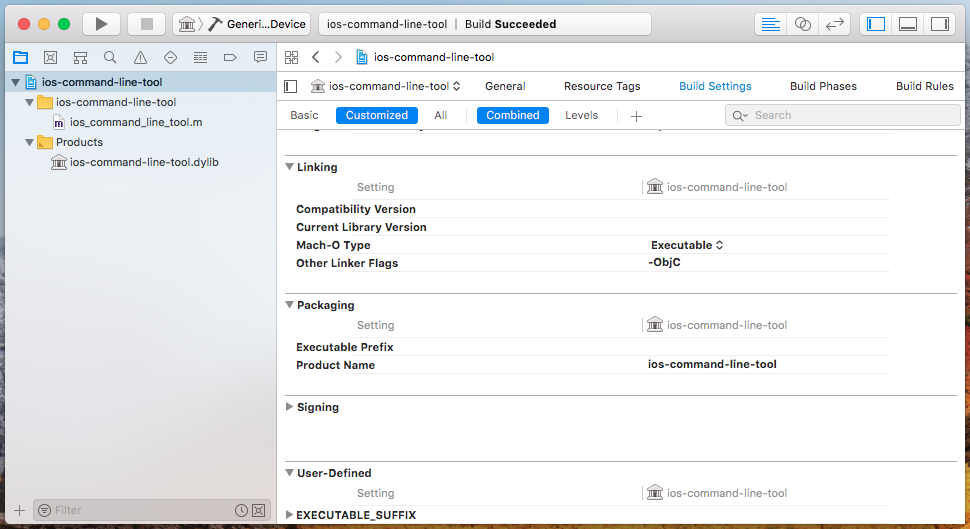
Configure the target settings to build an executable rather than a dylib.
And that’s it! Build the project, and you should end up with a standalone iOS command line tool built with Xcode.
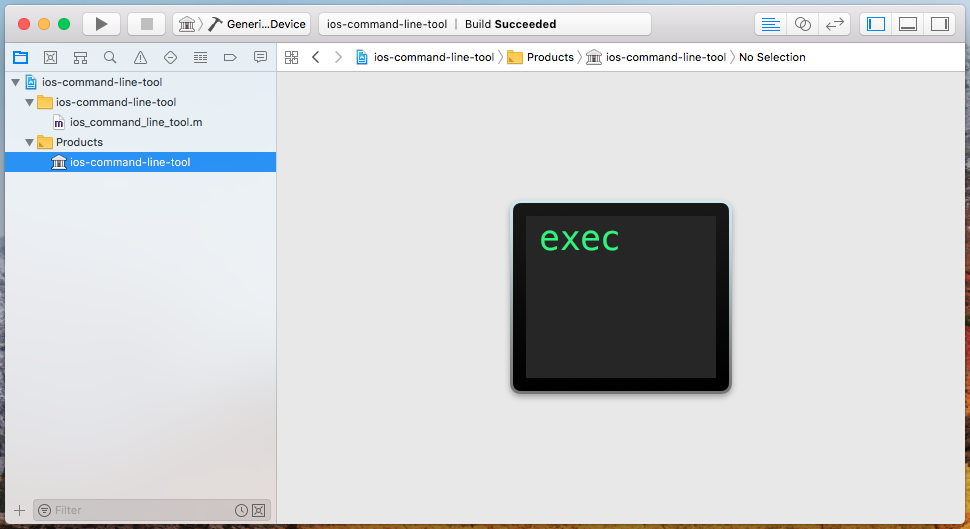
Now Xcode will build a standalone iOS executable.
For reference, I’ve included this ios-command-line-tool project on my GitHub. Feel free to use it as a template: I place the project in the public domain.
